Data Migration
Viewing Data Migration
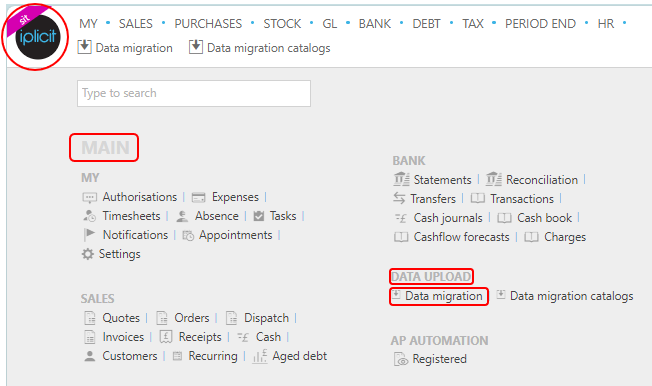
Select Data upload / Data migration from the Main section of the pulse menu -
Note
This is an example screen shot of the pulse menu.
Position of the menu items within pulse will vary according to available options and dependant on personal screen resolution.
or from the Main Menu select Data Upload then Data migration -

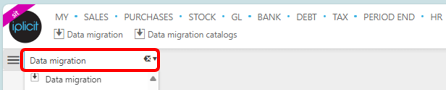
or enter Data Migration in the Quick Launch Side Menu.
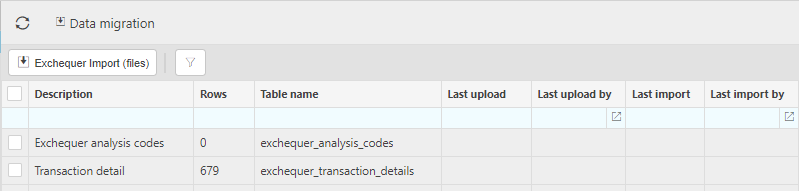
This will then show the Data Migrations that have been creted on the system.
Tip
To modify the columns displayed, select  in the top right of the page, then tick/untick the information you to see or not.
Options for Data Migrations
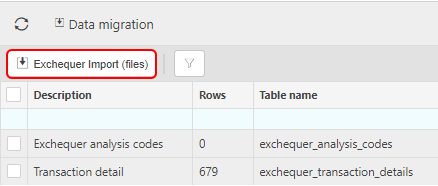
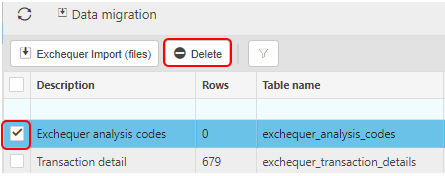
Select the Exchequer Import (file) options to import data from Exchequer files.
Selecting the
 filter icon will present you with the options to filter the Data migration output.
Selecting individual Data migration(s) will give you the option to Delete your selection.
Options for individual Data Migrations
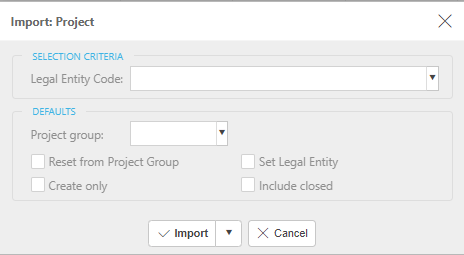
To Import data, select the Import all option.

This will present you with the following message, enter your requirements and then press Import.
To edit the data on the Data migration document, select the Edit option.

To download the results to an Excel document, select the Download XLS option.
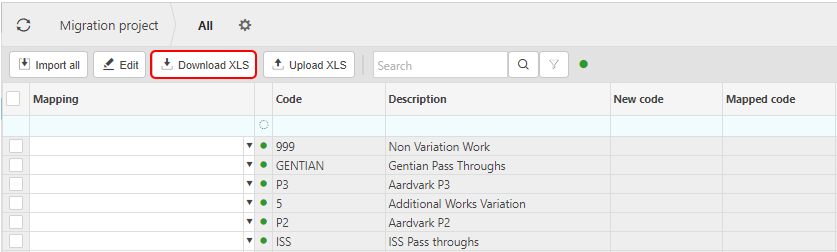
To upload data from an Excel document, select the Upload XLS option.

Updated February 2024