Product Groups
Product Groups are created to be used within Products throughout iplicit features.
Viewing Product Groups
Select Product / Product groups from the Settings section of the pulse menu -
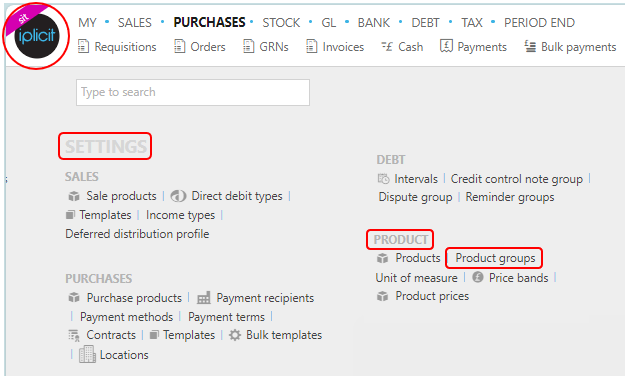
Note
This is an example screenshot of the pulse menu.
Position of the menu items within pulse will vary according to available options and dependant on personal screen resolution.
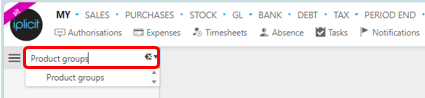
or enter Product groups in the Quick Launch Side Menu.
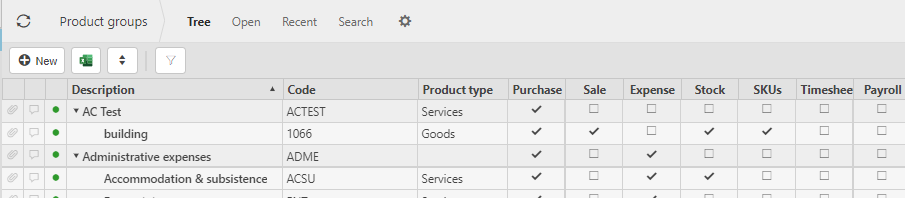
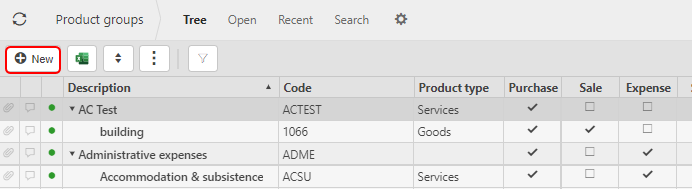
This will then show all the Product groups on the system where normal customisation of Sets can be used.
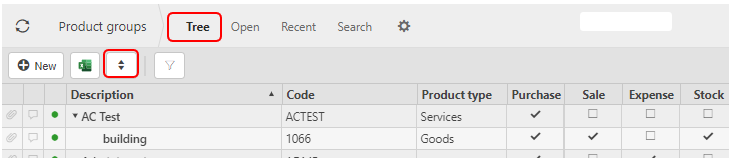
And Tree option will be available where you can toggle the rows to different levels.
Tip
To modify the columns displayed, select  in the top right of the page, then tick/untick the information you want to see or not.
More Information
- Description: This will describe the product group.
- Code: The unique code to identify the product group.
- Purchase, Sale, Expense, Stock, SKU, Timesheet, Loan, Payroll and Job: These boxes are ticked showing the other features that the Product group is used in.
The Products tabs explained

Create a new Product group
Select Product groups from one of the options as shown above in Viewing Product Groups.
Press New.
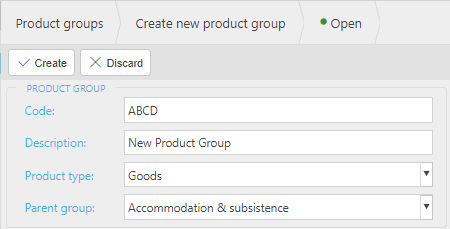
Enter the following fields as required, some will be mandatory.
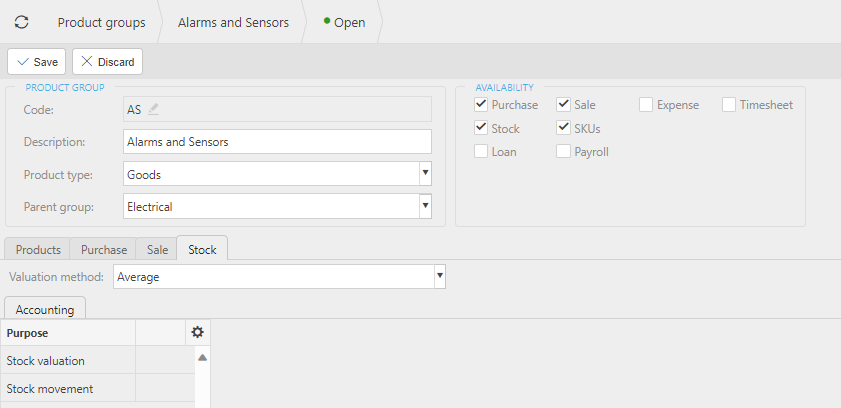
Code: Enter a unique code.
Description: Free text.
Product type: Select from the dropdown options.
Parent group: Select a group from the dropdown options.
Enter the features that you would like the product to be available for in the Tick boxes:
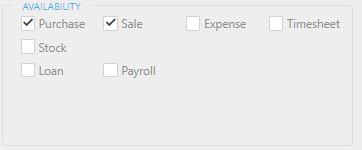
Depending on the feature boxes that have been selected, various tabs will be available.
For example, if Purchase is selected then there will be a Purchasing tab where you enter the Chart of account.

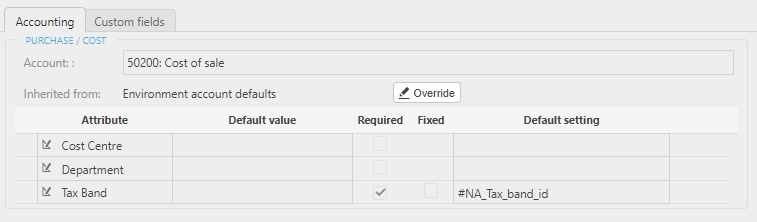
Once the Default account has been selected, the following popup appears. You can now add default values - either accepting the inherited defaults or entering your own by selecting the override option - and select if they are required or fixed for any documents that use this Product group.
Once all Product group details are entered, press Save.
- This Product group will now be available for use.
Add product availability
If you would like to change/amend a Product group to allow the Product group to be used in other features, double click the Product group then press Edit.
You can now tick the features that you would like to add to the Product group availability.
Press Save when finished.
Change product information
If you would like to change Product group information, double click the Product group then press Edit.
You can now make changes to the product information.
Press Save when finished.