Cash Journals
The cash journals feature allows deposits, withdrawals and credit entries to be made.
More Information
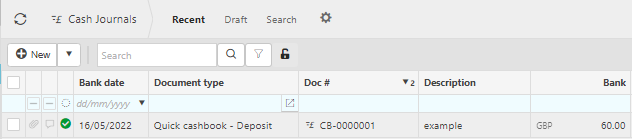
- Bank date: The date the journal was posted.
- Document type: This is the cash journal type e.g. deposit or withdrawal.
- Doc #: This is the document number used to identify it.
- Description: This description was entered during creation and will identify the cash journal.
- Bank: This is the amount of the cash journal.
Tip
To modify the columns displayed, select
 in the top right of the page, then untick the information you do not want to see.
Viewing Cash Journals
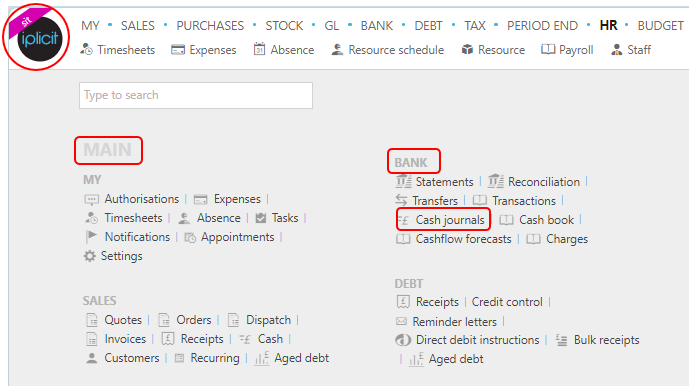
Select Bank / Cash journals from the Main section of the pulse menu -
Note
This is an example screen shot of the pulse menu.
Position of the menu items within pulse will vary according to available options and dependant on personal screen resolution.
or from the Main Menu select Bank then Cash journal -

or enter Cash journals in the Quick Launch Side Menu.

This will then show the Cash journals on the system where normal customisation of Sets can be used. Also, depending on User roles, the My/All option will be showing.

Tip
To modify the columns displayed, select in the top right of the page, then tick/untick the information you want to see or not.
Create a new Cash Journal
Select Cash journals from one of the options as shown above in Viewing Cash journals.
Press New.

Select the Document type.
Enter the Bank account that you are withdrawing or depositing from.
Enter a description of the cash journal.
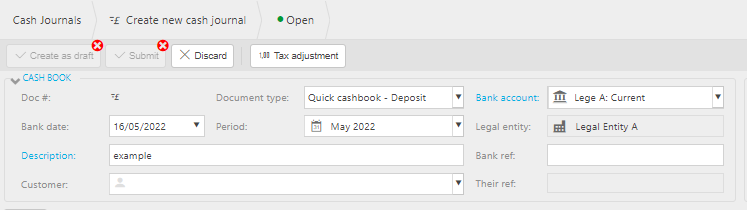
Fill out the remaining fields.
Remaining fields explained
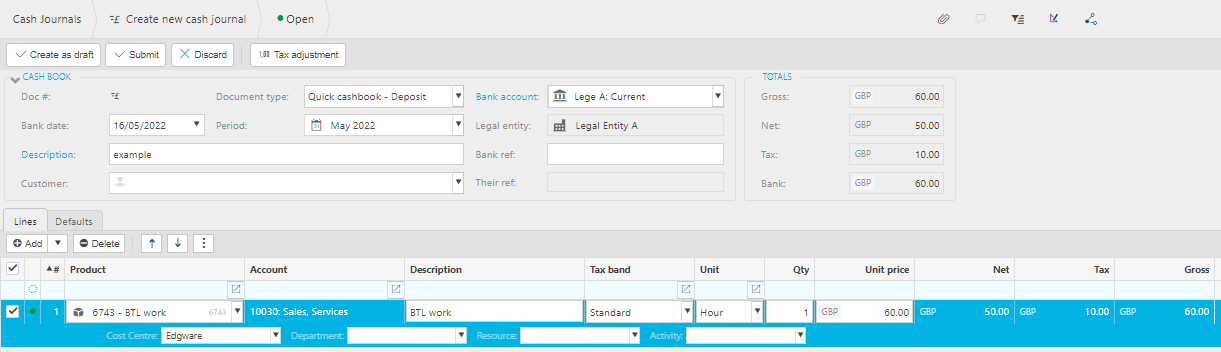
Add the Lines
Lines explained
Product: This is the Product being invoiced.
Account: If a Product is being used, this will be auto-completed and read only otherwise select an Account from the available list.
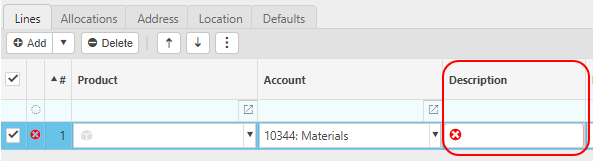
Description: Depending on the Force change setting in Chart of Accounts

If the Force change is not ticked, then the Description field will be auto-filled ...
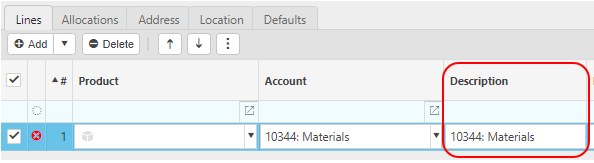
... however it can be edited.
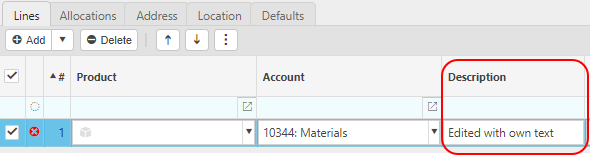
If the Force change is ticked, then the Description field will be blank and you will be forced to enter a description.
Tax band: Enter the Tax band.
Unit: This is the Unit to measure the Product.
Qty: This is the quantity of the Product you are invoicing.
Unit price: This it the price per unit of the Product.
Posting attributes
- The posting attributes are derived from the Chart of account rules related to the Account code. Common attributes include Cost centre and Department but can also include custom attributes.
If there is a requirement to sell to a Customer and have the goods delivered where the tax authority treatment is different, then set the Customer up as a Multi Tax Authority Customer.
When you are happy with the details press Submit.
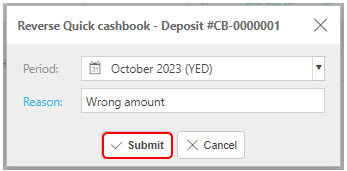
Reverse a Cash Journal
Select and open the Cash Journal (either highlighted on the list or open the Payment), then select the
 button and select Reverse.
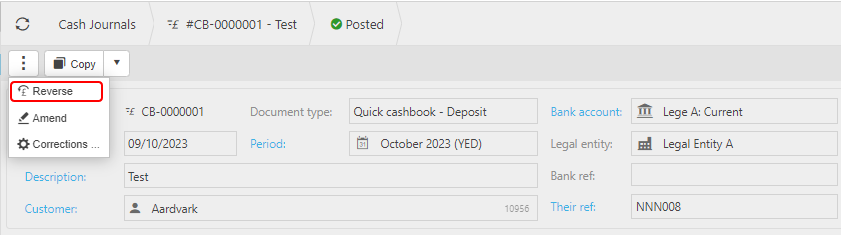
Enter the reason then press Submit.
Amend a Cash Journal
Select and open the Cash Journal (either highlighted on the list or open the Payment), then select the
button and select Amend.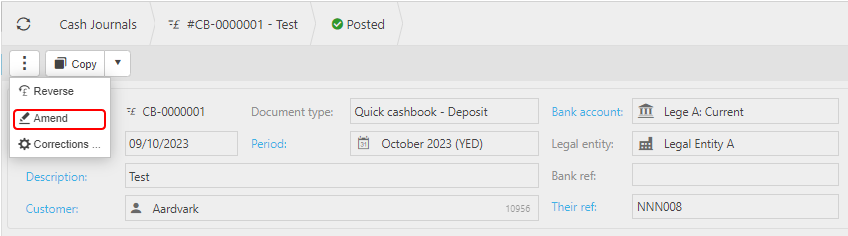
You can now make changed to the Cash Journal
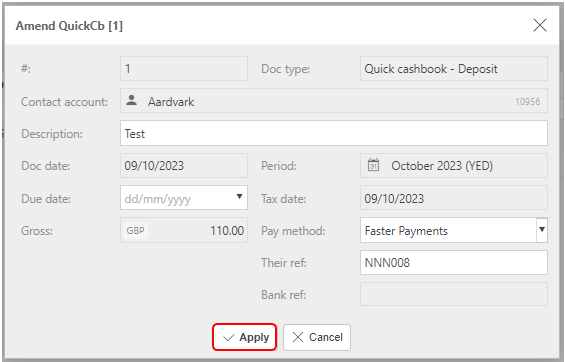
Once complete, press Apply.
Make corrections to a Cash Payment
Select and open the Payment (either highlighted on the list or open the Payment), then select the
button and select Corrections.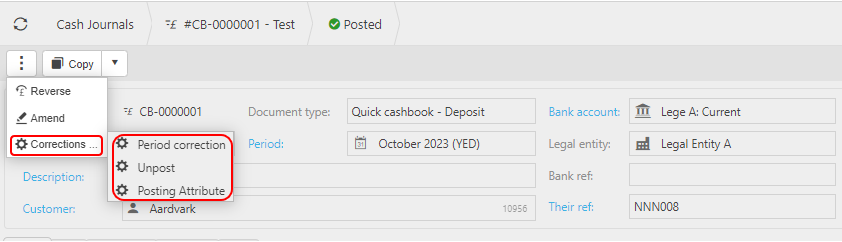
Period correction to make corrections to the Period.
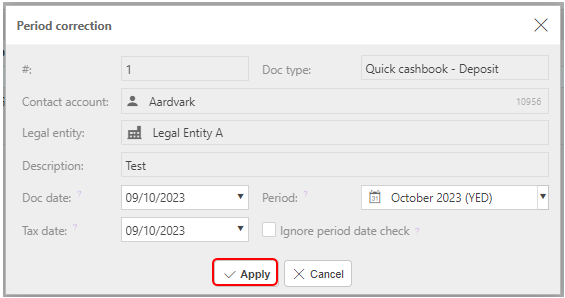
Make correction then select Apply.
Unpost to retract the Cash Journal from the General Ledger
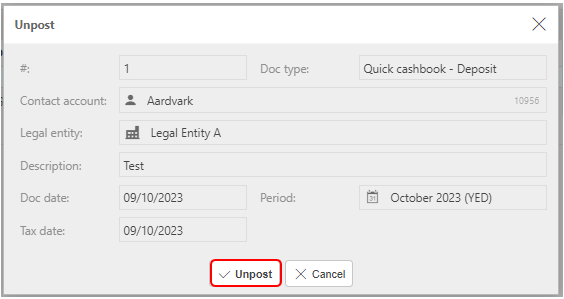
Select Unpost to proceed.
Posting Attribute to make corrections to individual attribute values on the Payment.
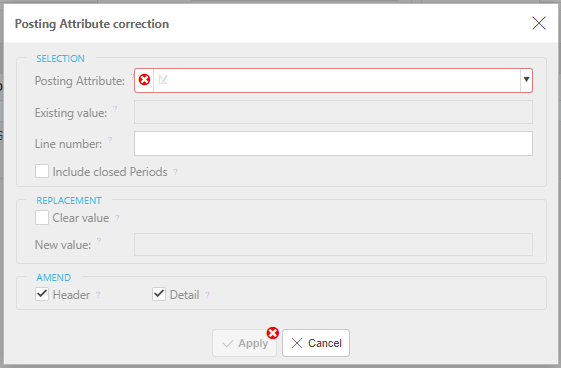
Further details Correction Posting Attributes
Updated March 2024